


Window Upgrade
(Awning Window)

(Awning Window)

(Screen Window)

(Half Awning Window)

(Fixed Window)
(Awning Window)
(Screen Window)
(Half Awning Window)

(Double Door)

(Dutch Door)

(Sliding Door)


(Rectangular)

(Square)

|
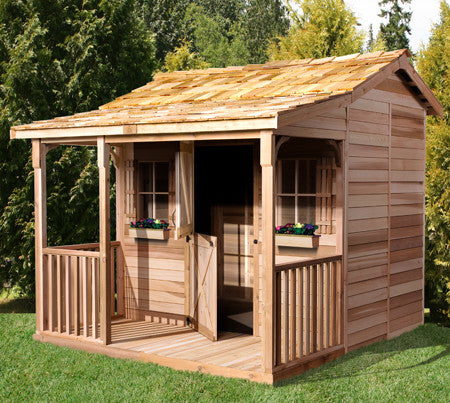
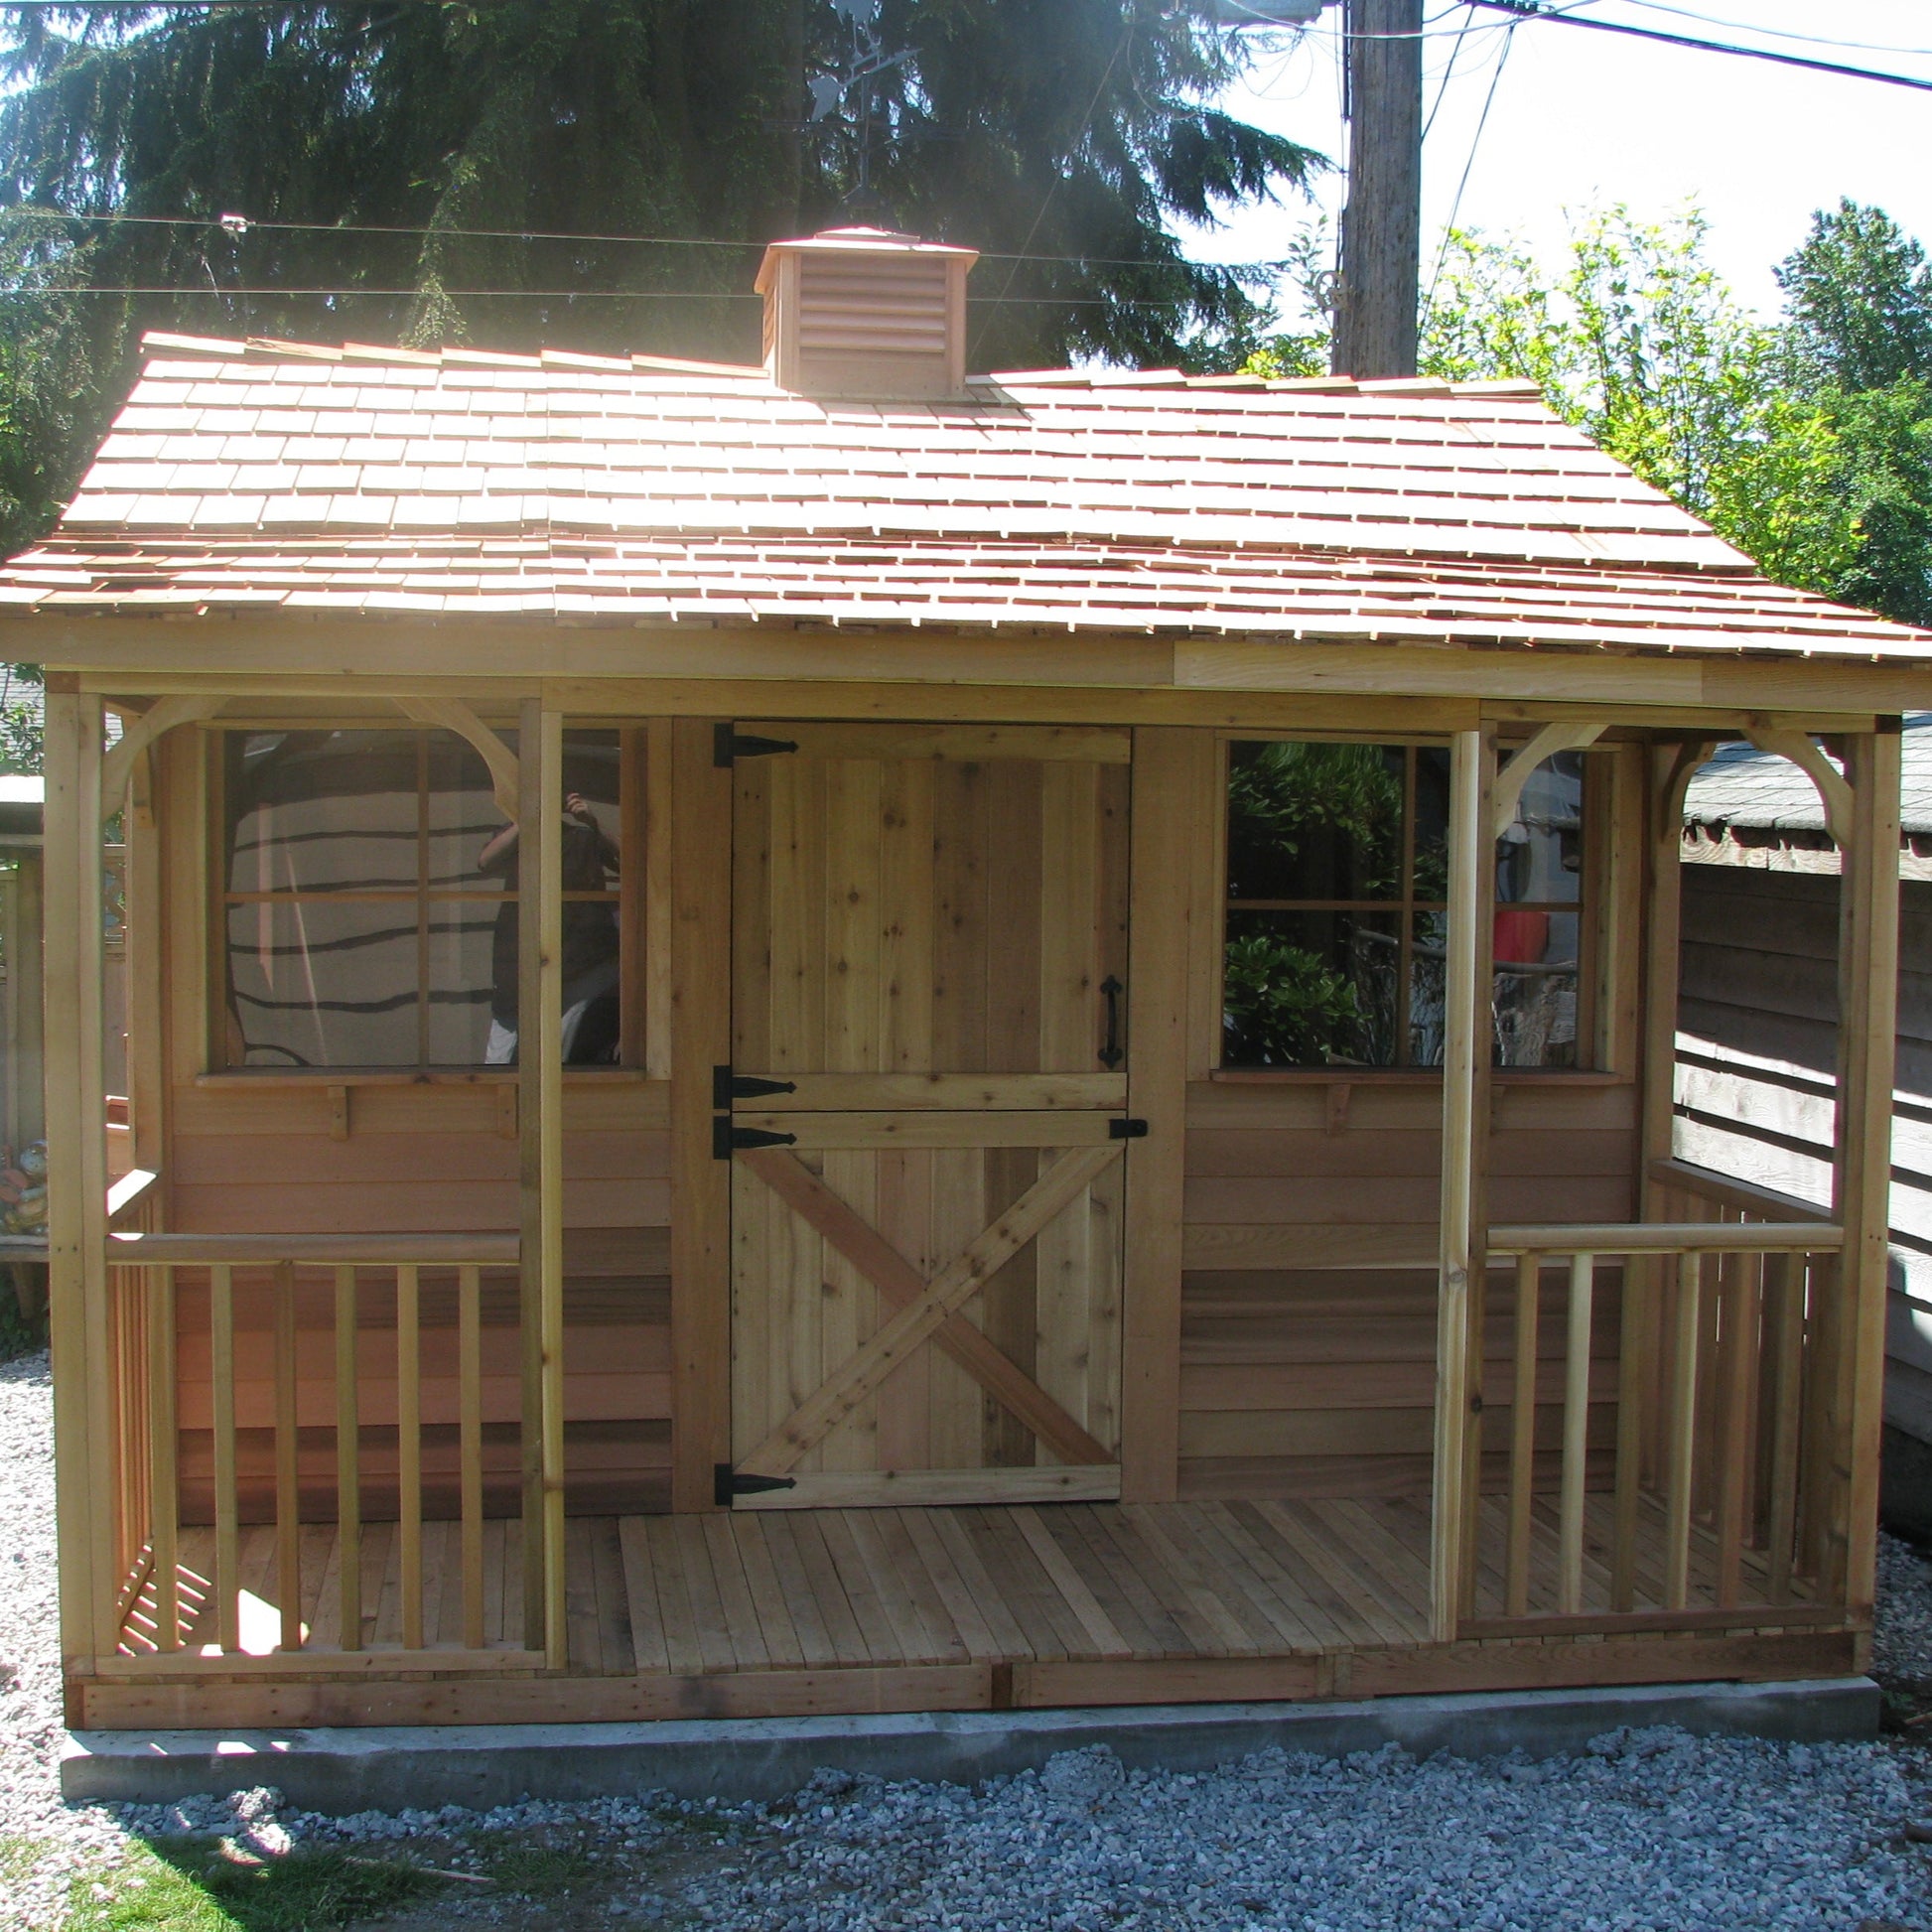
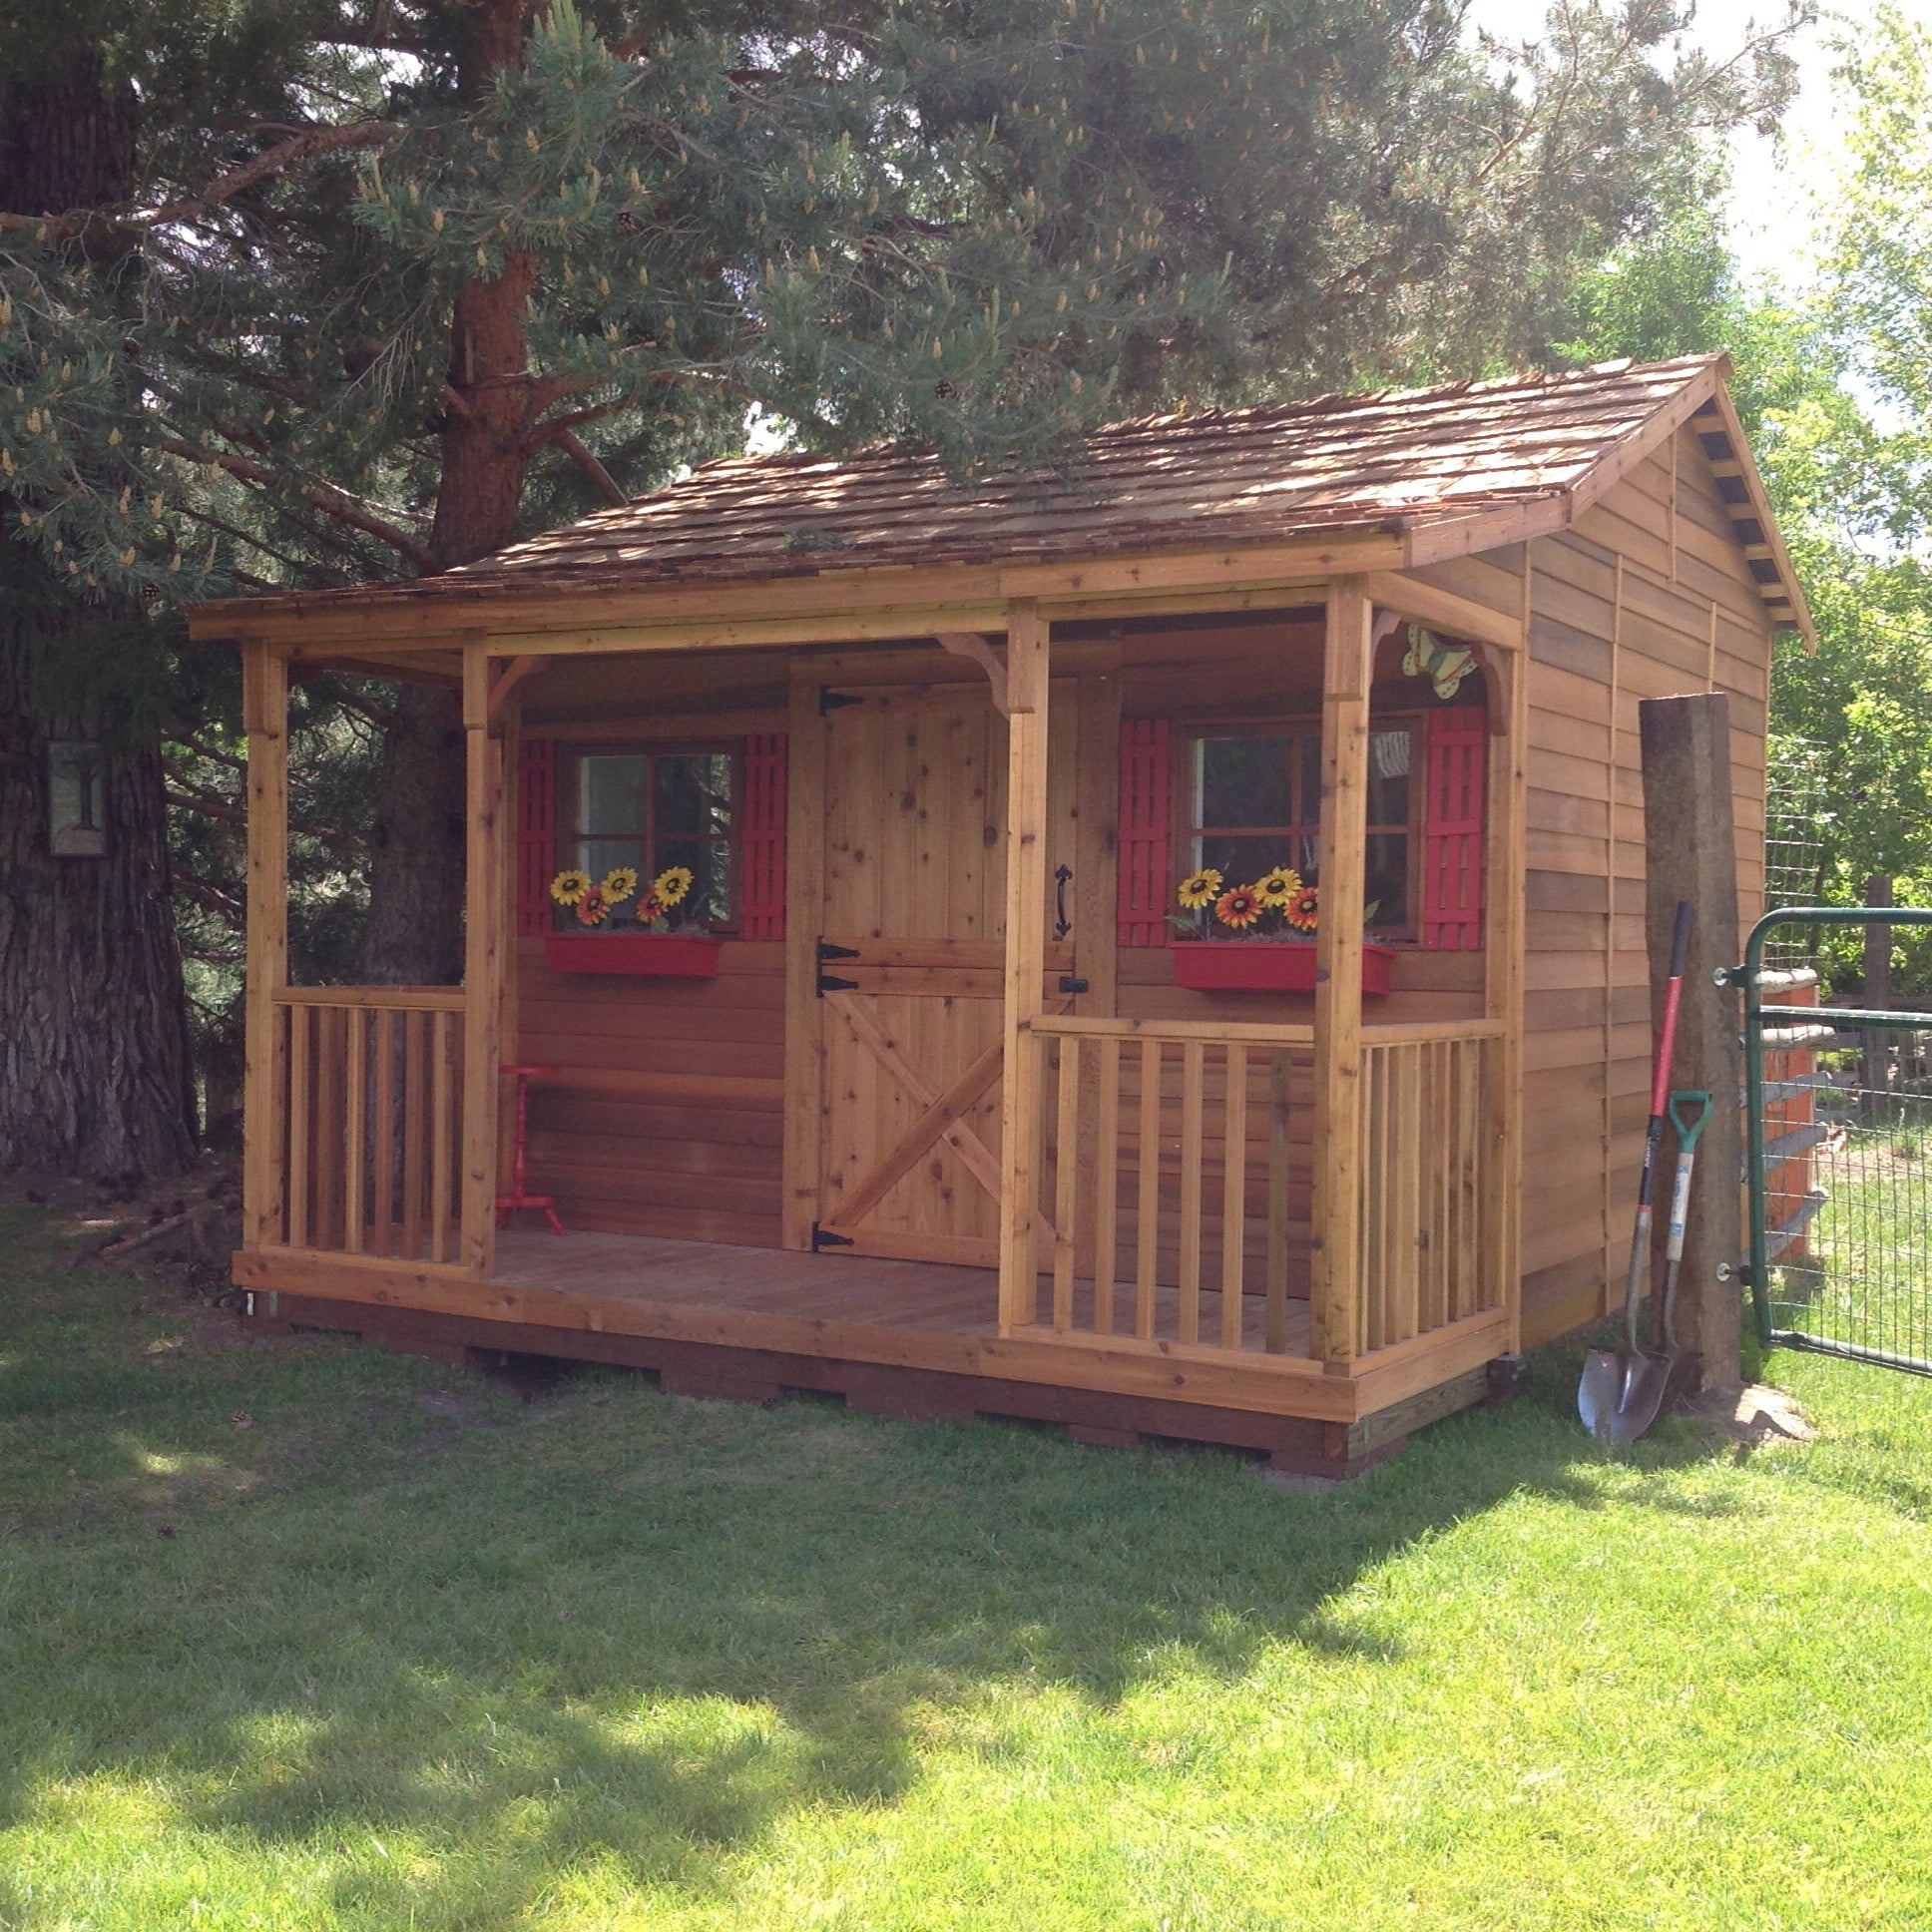
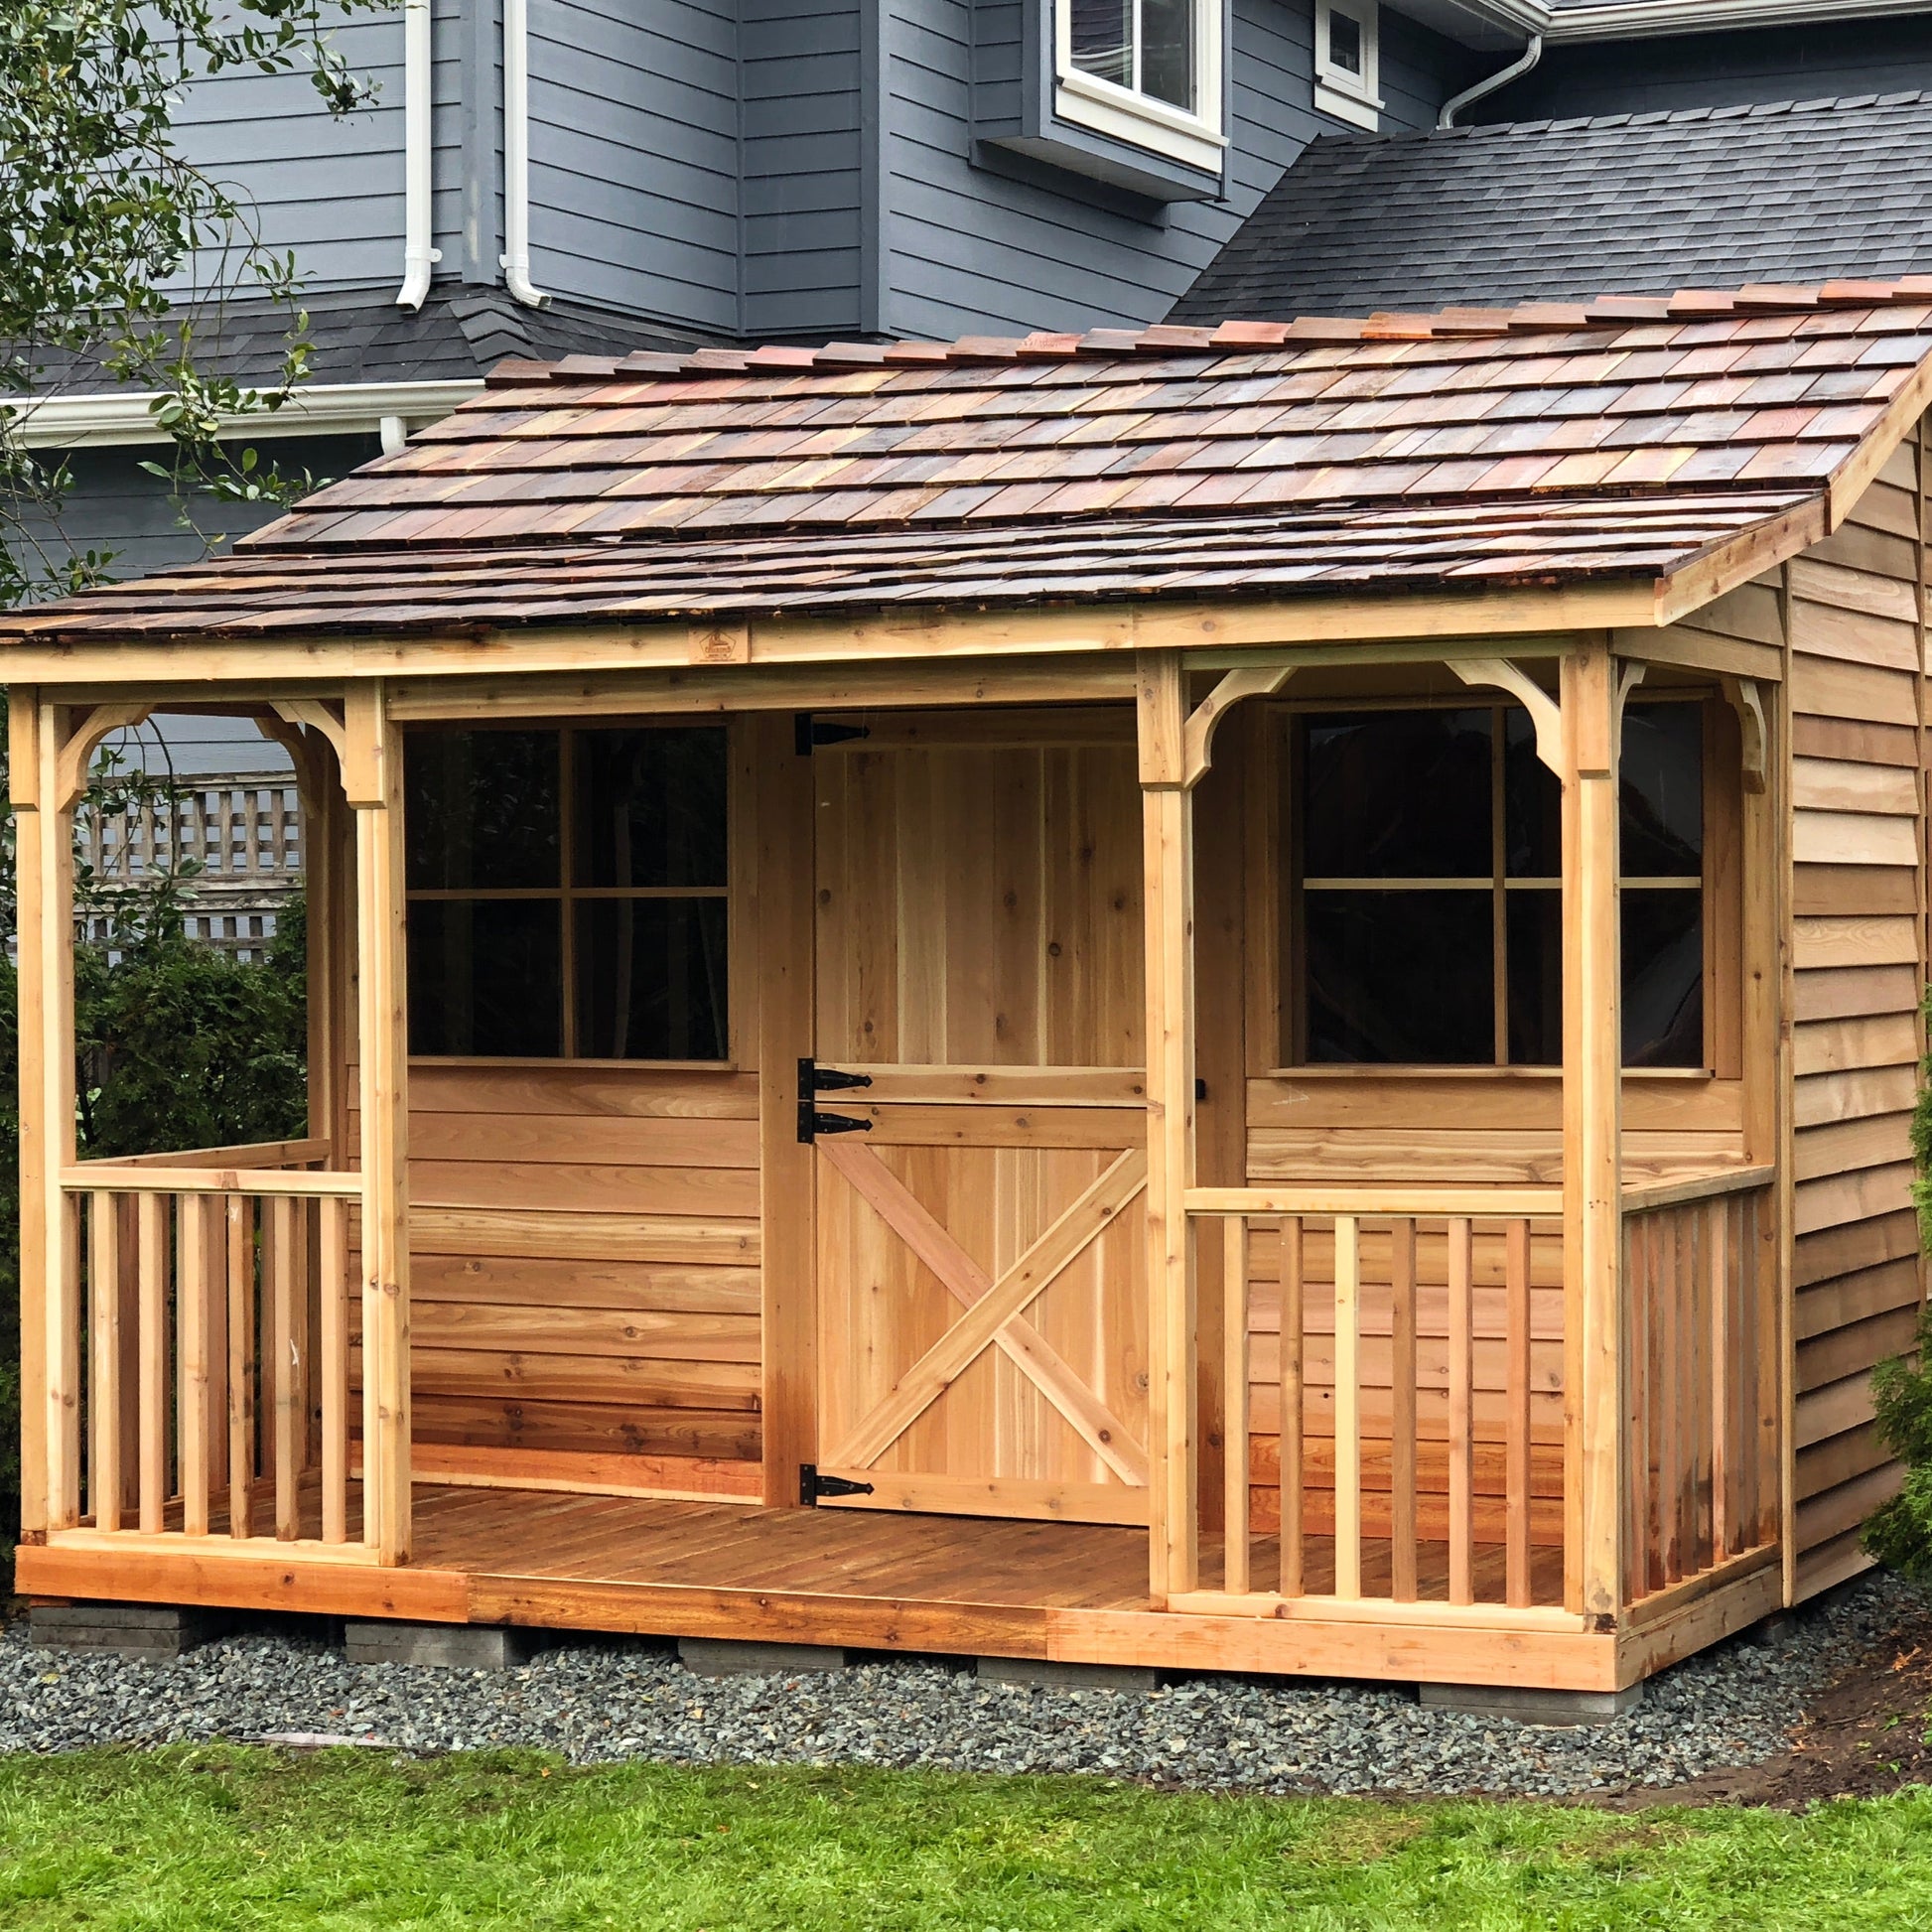
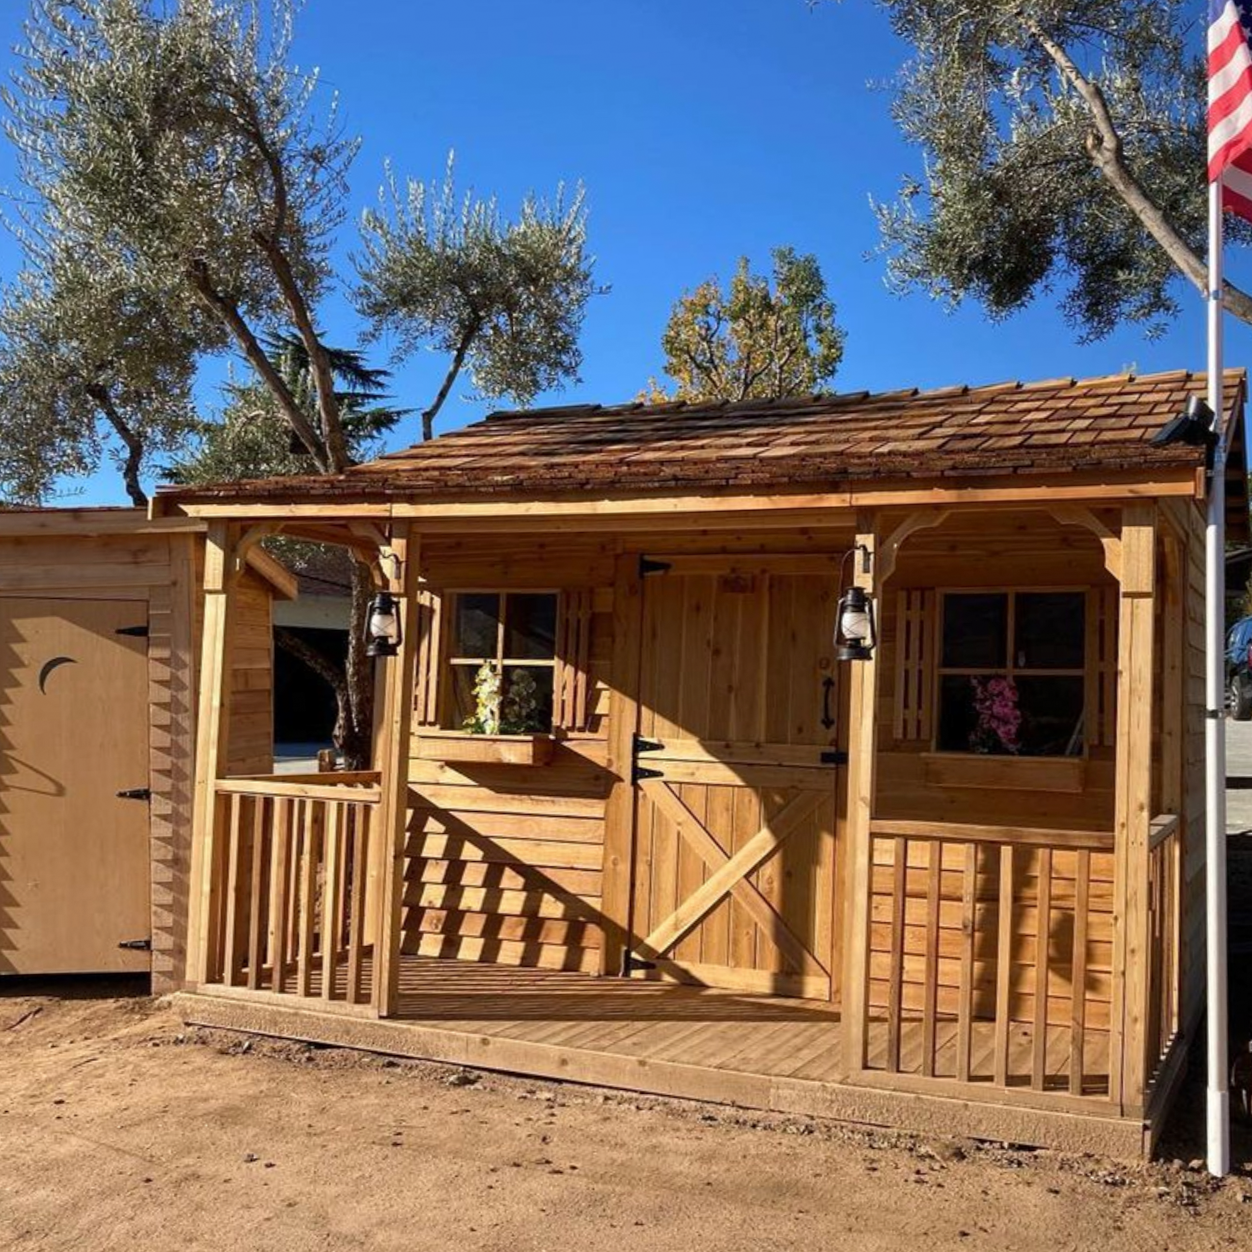
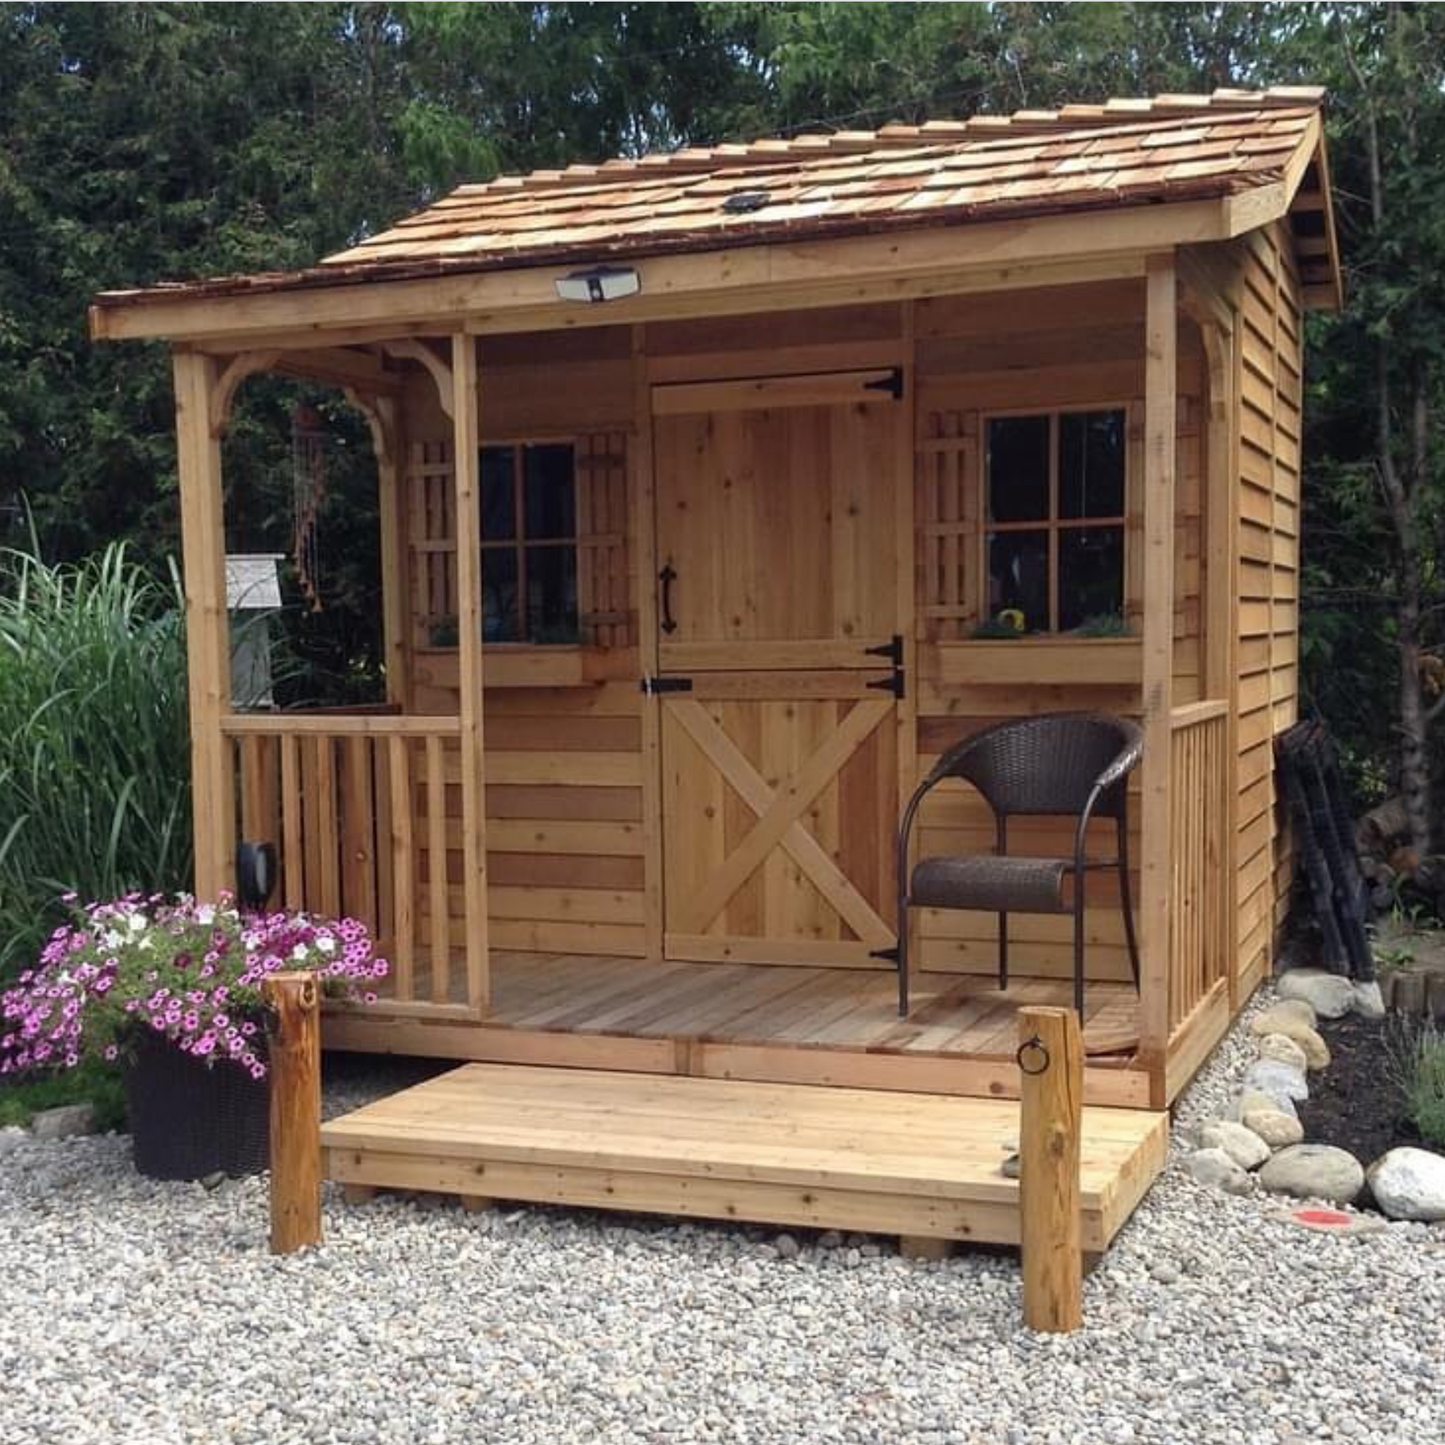
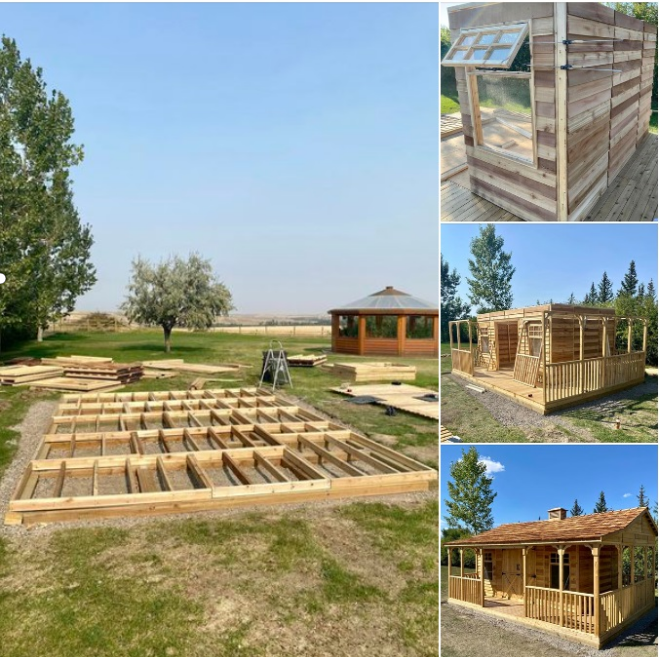
It's our bigger version of the Playhouse! The Cedarshed Kids Bunkhouse makes the perfect small backyard cabin or place for your children to play video games and hang out with their friends. Free Shipping, Always! Cedarshed's line of prefab Bunkhouse Kits consist of storage sheds with standardized wood walls and door panels that allow for ease of installation and customization of window and door placements. The porch is 46 1/2" wide x 143" long. The small Bunkhouse kit also includes 6ft high interior walls; giving you enough headroom to add a storage loft. The two fixed windows on either side of the Dutch door can be upgraded to functional windows. Add more windows if you desire more light. Prefab Bunkie Kit Features: Customize Your Small Bunkie Cabin Plans & Designs! Manuals: Essential Information: |
Floor System
Wall & Roof Framing
Exterior Finish
Windows
Our goal is to get your cedar kit from our mill to your property as smoothly as possible. We use professional freight carriers experienced in handling large residential deliveries.
Shipments are typically delivered to your driveway or curb. To ensure a successful drop-off, please let us know at the time of your order if you have any unusual access conditions, such as:
In 95% of our deliveries, the truck arrives equipped with a hydraulic liftgate. This allows the driver to lower the entire pallet directly to the ground at your curb or driveway—no heavy lifting required on your part.
In rare cases where a liftgate cannot be used (due to safety restrictions or specific site conditions), our kits are designed to be easily unloaded by hand:
We’ve officially taken the "international" out of international shipping. All Cedarshed kits ship directly from our facility in the North Okanagan, British Columbia, with full-service customs handling included. We manage the entire import process on your behalf so your delivery feels just like a domestic shipment.
Your order is shipped via professional motor freight and delivered directly to your address.
The Bottom Line: We’ve made the process turnkey. You just pick your shed, and we’ll handle the border, the brokers, and the transport.
We know you’re excited to get your new cedar space set up. We work to process and ship every order as efficiently as possible while maintaining our high standards for quality control.
You won't be left wondering where your shipment is.
Once your kit arrives at the local terminal near your home, the carrier will contact you directly to:
We understand that a Cedarshed is an investment in your home and your lifestyle. Our goal is to ensure you feel confident in that investment from the day it’s delivered through years of backyard enjoyment.
Every structure purchased directly from Cedarshed is backed by our 1-Year Limited Warranty against defects in manufacturing and workmanship. We take pride in our milling process, and we stand behind every panel that leaves our facility.
Cedarshed products are crafted from Western Red Cedar, one of nature's most resilient building materials. Known for its natural resistance to rot, decay, and insects, your shed is purpose-built for the outdoors.
If something isn't right when your shipment arrives, we are here to fix it—fast.
Our Promise: Once confirmed, we will arrange for replacement parts at no charge. We typically ship replacement components within 10 business days to keep your project on track.
To help us resolve issues quickly with our carriers, please report any missing or damaged parts within 14 days of delivery. If you won't be able to inspect the kit right away, just send us a quick note in writing to request an extension.
HOW TO BUILD A FOUNDATION
Cedarshed recommends three different methods for constructing basic foundations for our cedar products:
• Patio Stones
• 4x4 Pressure Treated Beams
• Concrete Slab
With all our products, we recommend the following "Step-By-Step" procedures.
|
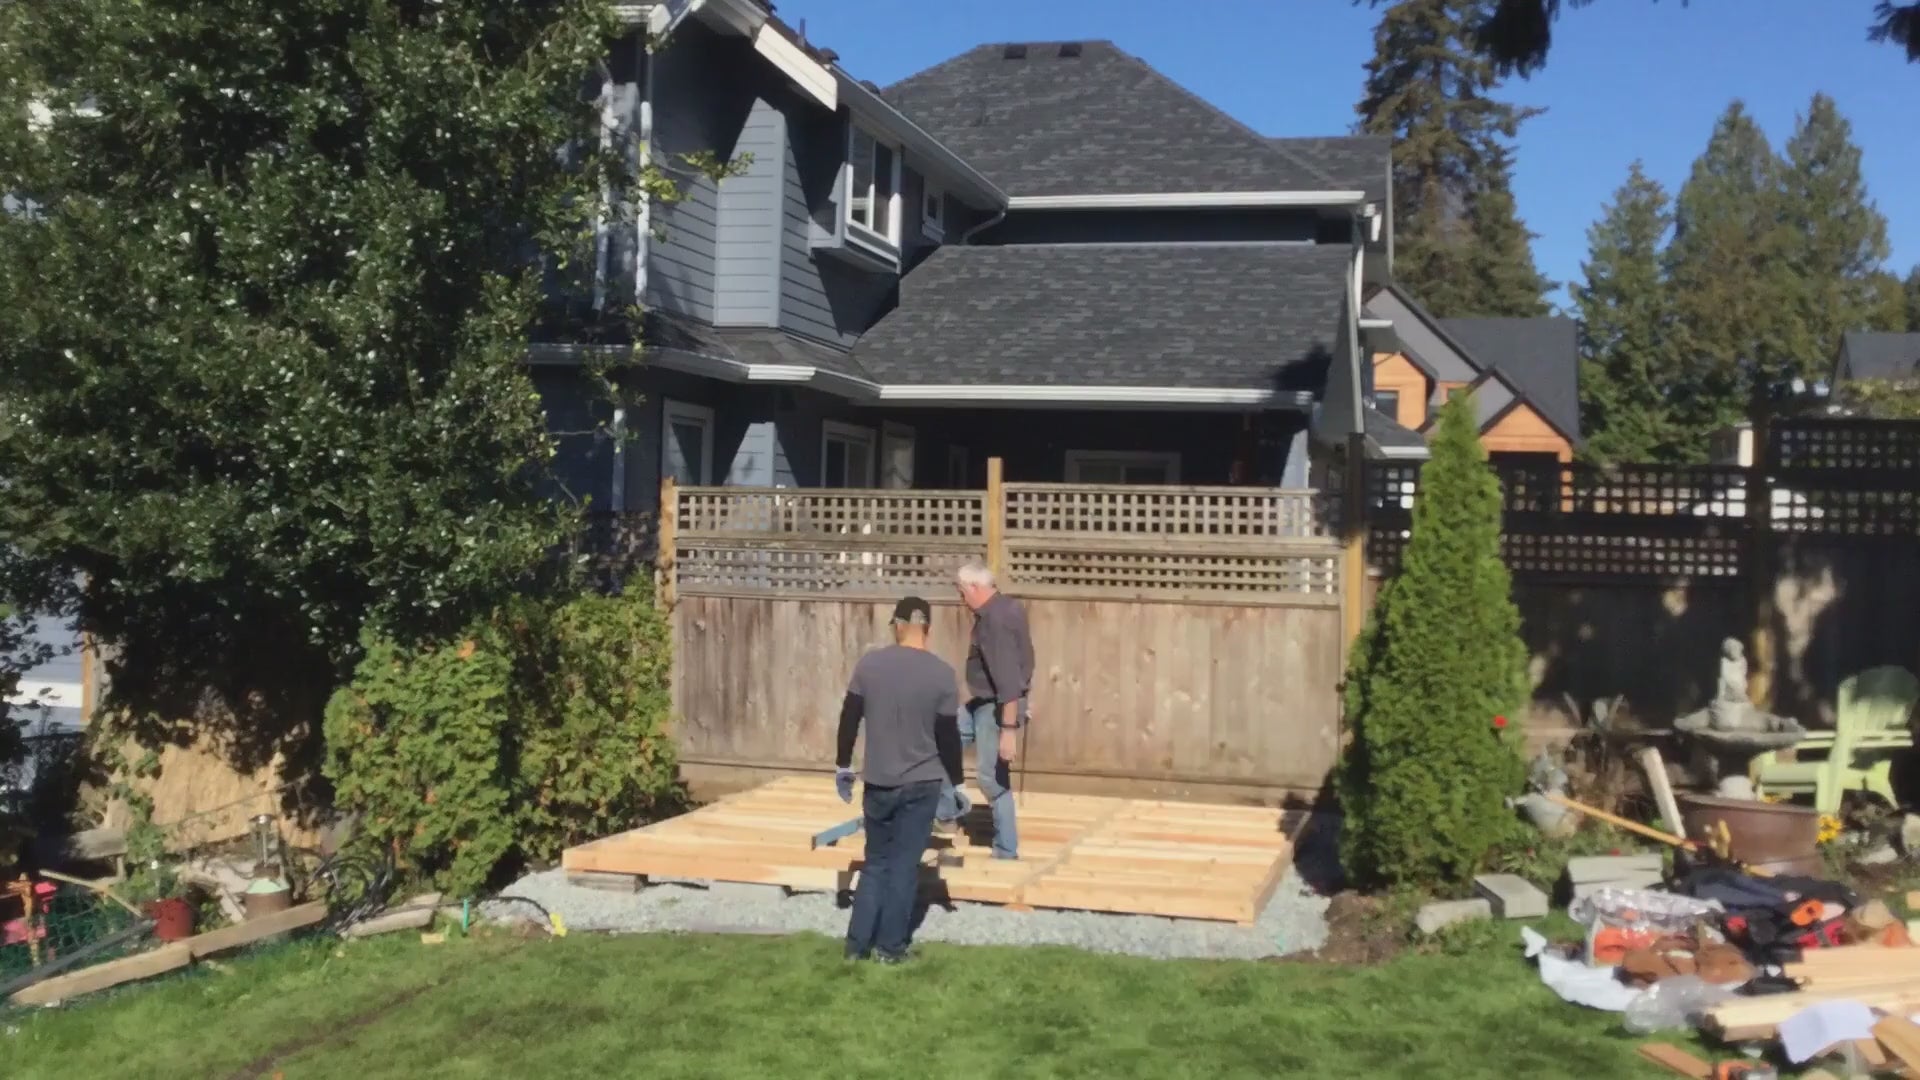
1 / Prepare Your Site for Construction
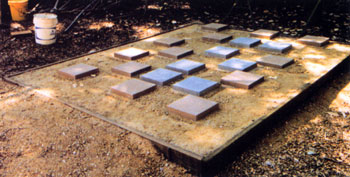 Before you receive your garden shed or gazebo, clear the construction area. Remove all debris, roots, grass and rocks. Make sure the ground slopes away from the site at least 10 feet in all directions. If necessary, build up the soil in the center of the site and slope away for the high point to provide drainage. Fill in any low spots within the perimeter of the site. A slope of 1/8 inch per foot is enough to prevent water accumulation.
|
|
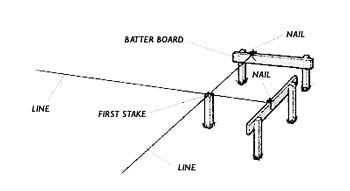
2 / Laying Out The Foundation No matter which type of foundation you’ve chosen, start by outlining the "footprint" on the site. Start by choosing one corner of the garden shed or the center of gazebo and mark it (A) by driving a stake into the ground. FOR GARDEN SHEDS 3-4-5 Triangulation Method Run a second line perpendicular to the first across point A. Mark point C 4ft. from point A. Move line AC so that the distance BC is exactly 5 ft. Angle BAC is now 90 degrees. Set up batter boards and guide lines to outline the entire shed, making right angles at each corner using the 3-4-5 triangle method described First determine door location by using one Rim Joist of Gazebo, stake points where rim joist intersects circle. Move around circle staking out all intersecting points until all corners are connected. See Specifications Sheet for Rim Joist size and radius measurement. |
|
3/ Determine The Type Of Foundation GARDEN SHEDS: Starting with one floor section, position stones around its perimeter and specific joists. (For details, see specific instruction manual) Use a 2x4 straight piece of lumber on edge and a carpenter’s level to position correctly. Add or remove soil/sand under each stone until level. Complete remaining floor sections in the same manner. When all floor panels are level with each other, flip over, screw together and place back on level foundation. GAZEBOS: Position patio stones on outline of gazebo previously described. For details of how and where stones go, see specific instruction manual. Use a 2x4 straight piece of lumber on edge and a carpenter’s level to position correctly. Add or remove soil/sand under each stone until level. When stones are level, position completed sub-structure (Rim, Long & Short Joist and Core Block) on top. Once again, use a level to confirm positioning and make any necessary adjustments. 2. 4x4 PRESSURE TREATED BEAM FOUNDATION To prevent the beams from shifting, secure them with a 1/2" inch rebar inserted through holes drilled in the beams and driven 3 to 4 feet into the ground. Leave each side or end of the foundation open to promote drainage and air circulation beneath the floor.
4x4 PRESSURE TREATED FOUNDATION Using either mix your own concrete of having it delivered by truck, ready to pour, depends on how much time and effort you have to dedicate to the project. A slab for our 8x10 foot Rancher or a 10 foot gazebo both to a depth of 4 inches will require approximately 1 cubic yard of premixed concrete. Use the following procedure: 2. Excavate the slab area to a depth 6 inches. This would put the finished slab surface 2 inches above ground (4 inches of gravel) 3. Set up your batter board strings to represent the outside face of the slab. At each corner, drop a plumb line from the intersecting strings to the bottom of the trench, then drive a 2x4 stake at this point. Using the plumb bob again, drive a nail into the top of the stake where the plumb bob touches it. Attach strings between the stakes. Using the strings as guides, drive the 2x4 form stakes around the trench perimeter, spaced on 2 foot centers. 4. Attach the form boards to the stakes with double-headed nails. Make sure the stakes are on the outside of the boards and flush with or below them. 5. Use 2x4 stakes to brace the corners of the forms. 6. Backfill the excavation with 4 inches of gravel, then lay down a plastic vapor barrier. 7. Spread or pour concrete with a rake or hoe, compacting it gently into the footing areas. Use a shovel to move concrete into footing trench. Make the pour to about 1 inch above the forms to allow for settling. Use a long 2x4 to level the concrete. Move the board in a side-to-side motion as you pull it towards you. 8. Use finishing tools, such as a bull float and trowel, to smooth the concrete surface. Allow the concrete to cure fully (seven to ten days).
|

"After a lot of sweat and a little bit of blood lost the new cedar shed is complete! The best service and support I've ever experienced, would highly recommend Cedarshed Industries"
Tyson Lomerts
Facebook Review
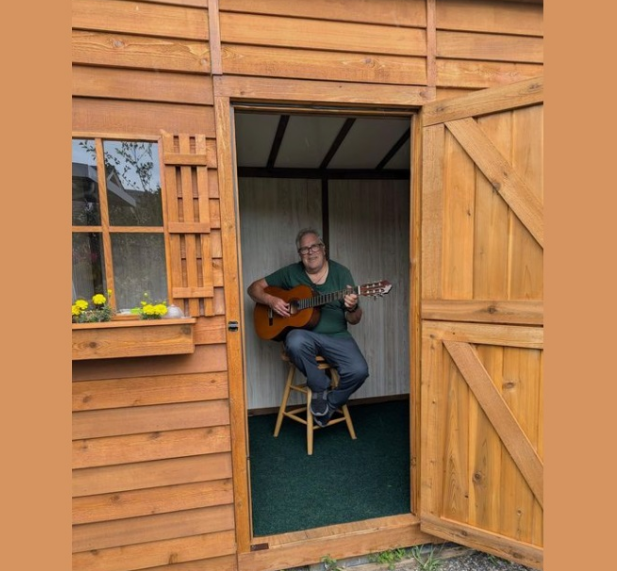
"I tell you I'm sure impressed with your product. This is my music studio"
Roderick Duncan
Facebook Review
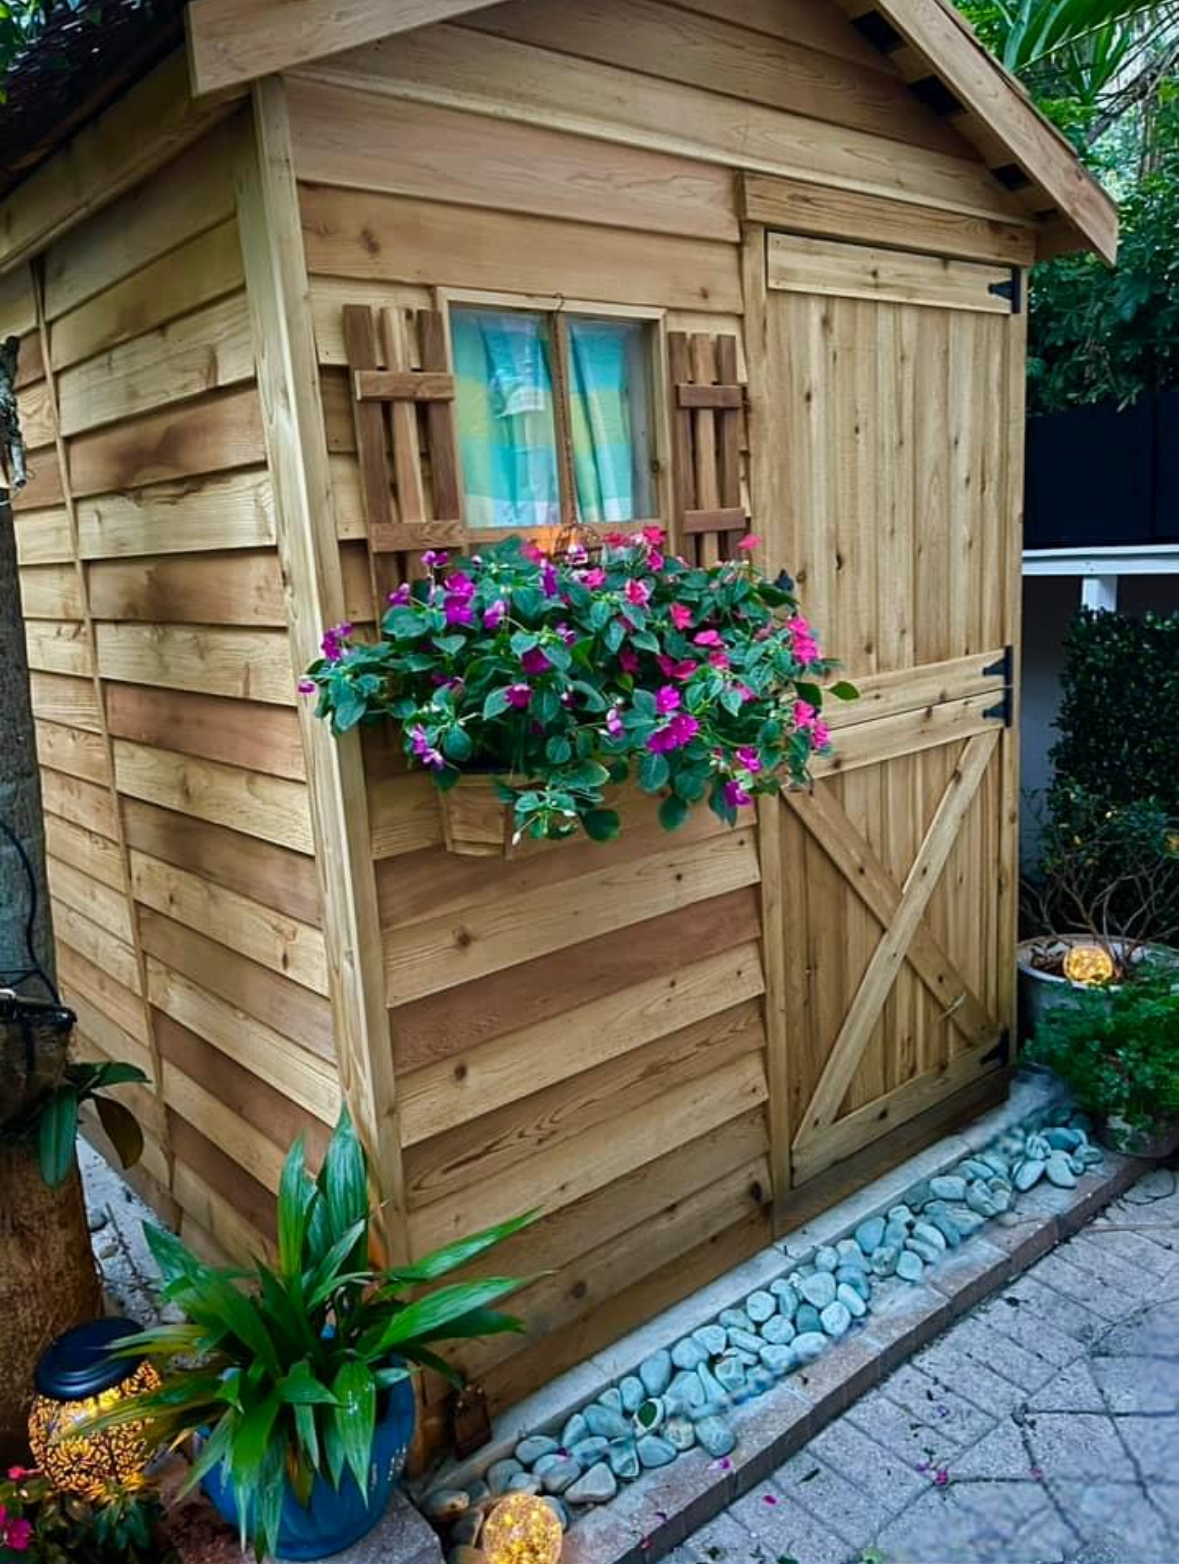
"I love my shed! That side yard has weird 90's angles at the back and the shed blocks that as well as being nice to look at and providing a ton of storage!"
Kjersti Sivitilli
Facebook Review
"I put a CedarShed Sunshed in last spring. l have grown so many seedlings in it this spring, it is fabulous!"
Isla Viscount
Facebook Review
"I am amazed that in this day and age there still exists a company that delivers EXACTLY what they advertise — and more!"
J. Pullen
Parksville, BC
"My Contractor estimated that he would have charged me double the amount I paid, if he had to build a similar garden shed from scratch."
John L.
Montara, California
"Everyone that helped me put it together and everyone in my family has been very impressed with how I found such a nice-looking little garden shed. It looks so nice, settled in with our four redwoods. It makes such a good clubhouse for the grandchildren."
Rudy D.
Palo Alto, California
"You have an excellent product. I had a lot of fun building this Longhouse."
P. Bell
"I was very impressed with how easily all the parts fit together. Not a single problem. Thanks!"
Neal R.
Glendale, Missouri
"I wanted to send a note to let you know that our shed arrived last Friday and my son and I assembled it over the weekend. It came out great! Everything was first rate from the quality of the packaging (very impressive that you neatly packed it on one skid) to cedar and the precision of the cut components… Thank you for your assistance throughout. A very satisfied customer."
Ralph D.
Chicago, IL
"In 1996 we bought one and as far as I know it's still standing. I sold in 2018 and was still in great shape even came with cedar shake roof"
Diana Benoit
Facebook Review